
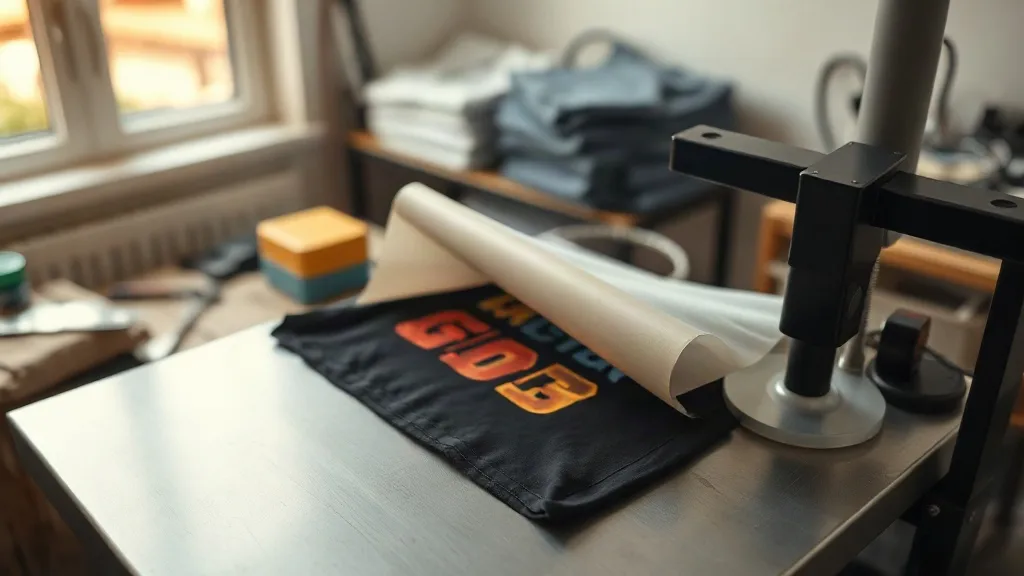
Most failed dtf transfers are not the fault of the film. They are the result of one small variable on the heat press that nobody caught in time. After pressing thousands of sheets and watching far too many prints peel at the corner, I have learned that troubleshooting is less about buying better supplies and more about reading the symptoms correctly. This guide walks through the mistakes that show up most often, what each one looks like on the finished garment, and the specific correction that fixes it.
Why DTF Failures Usually Start Before the Press
When a transfer lifts off a shirt after the first wash, the instinct is to blame the film or the powder. In practice, the root cause is often storage or handling. dtf film is sensitive to moisture, and a sheet left in a humid room will absorb water into the ink layer. That moisture turns to steam under heat and creates tiny bubbles that prevent a full bond.
The fix is unglamorous but effective: keep unopened film in its original bag, store opened sheets flat in a sealed container with a silica packet, and never leave film sitting on a press platen between jobs. If you live in a humid climate, a cheap hygrometer near your storage shelf will tell you more about your failure rate than any forum thread.
Check the powder cure before anything else
A shaker with clumps, or powder applied unevenly, produces transfers that feel fine to the touch but fail at the edges. Hold a cured sheet up to a light source. The adhesive layer should look uniform and slightly matte. Patchy, glossy spots mean the powder melted unevenly, and those areas will not anchor properly to fabric.
The Pressure Mistake Nobody Measures
Temperature and time get all the attention, but pressure is the variable most operators guess at. Too little pressure and the adhesive never fully contacts the fabric weave. Too much and the ink layer compresses, which flattens detail and can cause the carrier film to wrinkle under the platen.
A simple habit that has saved me dozens of ruined garments: press one test transfer on a scrap of the same fabric before every new batch. If the carrier film releases with a light, even peel and no resistance, pressure is in range. If it fights you or snaps back, adjust and try again. This takes ninety seconds and prevents the kind of failure that only shows up after a customer washes the shirt.
Match pressure to fabric, not to a number
- Cotton and blends: medium pressure, firm enough that you can see the platen impression through the carrier film.
- Polyester: lighter pressure, since excessive heat and force can cause dye migration and shine.
- Canvas and heavy twill: heavier pressure to push adhesive into the rougher surface texture.
Peeling Too Soon and Peeling Too Late
Carrier film has a narrow window. Peel while the sheet is still hot and the adhesive can stretch away from the fabric before it sets. Wait too long and the film cools into a stiff sheet that lifts ink along with it, leaving a dull, ghosted print.
The reliable approach is a warm peel: press, then wait roughly five to eight seconds, and peel at a low angle in one smooth motion. If you are printing a large design with fine lines, peeling from a corner toward the center reduces the chance of dragging. For multi-color jobs, always peel the same direction so any inconsistencies stay consistent across the run.
Color That Looks Dull After Pressing
A print that looks vivid on the sheet but washed out on the shirt is almost always a heat problem, not an ink problem. Excess temperature breaks down the pigment and causes the white underbase to bleed into the color layer. The result is a muted, slightly gray appearance that no amount of re-pressing will recover.
Drop your platen temperature by 10 to 15 degrees and extend the press time slightly to compensate. On dark garments, also check that your white layer is fully opaque before the color layer goes down. A thin white base is the second most common cause of dull prints, and it is easy to miss because the transfer looks correct until it is on a black tee.
Dye migration on polyester
Polyester is its own category. Dyes in the fabric can sublimate upward into the adhesive when heat is too high, producing a pink or gray halo around the design. Lower temperature, shorter dwell time, and a pressing sheet between the platen and the transfer all help. If you regularly print on performance wear, a dedicated low-bleed film is worth the small upcharge.
Ghosting, Double Lines, and Repositioning
Ghosting happens when a transfer is placed, pressed lightly, lifted, and moved. The adhesive grabs a faint impression of the ink, and the second press locks both layers in place. Once it happens, the garment is usually a loss.
Prevention is a placement workflow. Lay the garment flat, mark center with a small piece of tape or a chalk line, and position the transfer once. If you must adjust, use a cold platen and lift the film straight up rather than sliding it. Sliding is what smears the adhesive and creates the ghost.
Finding Consistent Supplies and Local Help
Application technique only gets you so far if the film itself varies batch to batch. When you are searching for dtf transfers near me, ask suppliers two questions: whether they test each batch for powder adhesion, and whether they will send a sample sheet before you commit to a case. A supplier who answers both without hesitation is usually the one worth keeping.
Keep a simple log for every new batch: date received, press temperature, pressure setting, peel timing, and wash test result. After a few months, patterns emerge that no general guide can predict for your specific shop, fabric, and climate. That log becomes the most valuable troubleshooting document you own.
Frequently Asked Questions
Why does my DTF transfer crack after the first wash?
Cracking usually points to under-curing. The adhesive bonded to the surface of the fabric but never penetrated the weave, so flexing during washing breaks the bond. Increase pressure slightly, extend press time by three to five seconds, and confirm the peel is warm rather than fully cold.
Can I press DTF transfers onto cotton and polyester with the same settings?
No. Cotton tolerates higher heat and firmer pressure, while polyester needs lower temperature to avoid dye migration and shine. Set separate presets on your press and label them clearly so nobody defaults to the cotton setting out of habit.
How long should I wait before washing a DTF-printed shirt?
Give the print at least 24 hours to settle before the first wash. Wash inside out in cold water and skip the dryer's high heat setting. Following those two rules alone will noticeably extend the life of the print compared to a standard wash cycle.
What causes a white outline around my DTF design?
A visible white halo means the white underbase extends beyond the color layer, which happens when the color layer is slightly undersized or the transfer shifted during pressing. Check your artwork's white choke settings and confirm the transfer is positioned once, without repositioning after contact.
Do I need a special press for DTF transfers?
A standard clamshell or swing-away heat press works fine as long as it holds temperature evenly and you can control pressure. The one feature worth having is a digital pressure readout, since guessing at pressure is behind a large share of the failures covered above.