
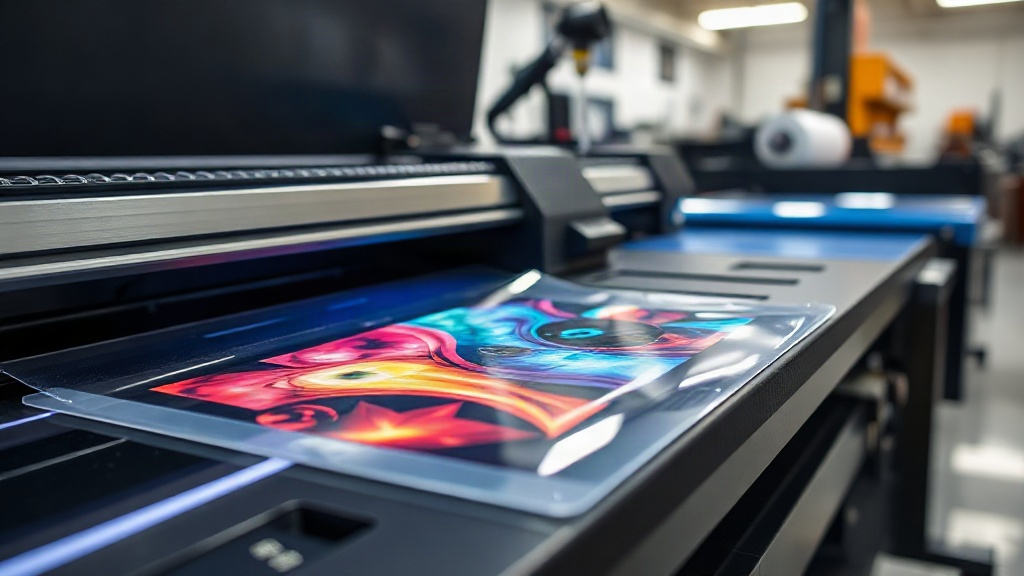
If you've been exploring custom apparel printing, you've likely encountered the term DTF. Short for Direct-to-Film, this technology is quickly becoming a favorite among hobbyists and professionals alike. Unlike traditional methods that require specialized equipment or extensive setup, DTF printing offers a versatile and accessible way to transfer detailed designs onto various fabrics. In this guide, we'll walk you through the essentials of DTF printing, from its core process to practical tips for achieving professional results.
What is DTF Printing?
DTF printing stands for Direct-to-Film. It's a digital printing method where your design is printed onto a special PET film using water-based inks. A powdered hot-melt adhesive is then applied to the wet ink, and after curing, the film is ready to be heat-pressed onto a garment. The adhesive bonds the ink to the fabric, creating a durable and stretchable print. This process eliminates the need for pre-treatment or specialized fabrics, making it incredibly user-friendly.
Why Choose DTF Printing?
There are several compelling reasons why DTF printing has gained such popularity. Let's explore the key benefits that set it apart from other printing methods.
Versatility Across Fabrics
One of the biggest advantages of DTF printing is its ability to adhere to a wide range of materials. Whether you're working with cotton, polyester, blends, or even nylon, DTF transfers can be applied successfully. This is a significant departure from DTG (Direct-to-Garment) printing, which typically requires 100% cotton for optimal results. With DTF, you can print on dark colors, light colors, and everything in between without needing multiple ink sets or pre-treatment.
No Weeding Required
If you've ever worked with heat transfer vinyl (HTV), you know the tedious process of weeding out tiny details. DTF printing eliminates that entirely. The design is printed with the adhesive already in place, so you simply press the entire film onto the garment and peel it off. This saves hours of manual labor, especially for intricate designs with fine lines or small text.
Vibrant, Durable Prints
DTF prints are known for their bright colors and high opacity. The white ink layer, which is printed underneath the CMYK colors, ensures that your design pops even on dark fabrics. Additionally, the prints are highly durable. When applied correctly, they can withstand numerous washes without fading, cracking, or peeling. The stretchability of the adhesive also means the print moves with the fabric, reducing the risk of cracking.
How Does the DTF Process Work?
Understanding the step-by-step process will help you achieve consistent results. Here's a breakdown of the DTF printing workflow.
Step 1: Design Preparation
Start by creating or sourcing your artwork. DTF printing can handle complex designs with gradients, shadows, and fine details. Ensure your design is high resolution (300 DPI is recommended) and in a suitable file format, such as PNG or TIFF. Remember that the design will be printed in reverse, so if it contains text, mirror it before printing.
Step 2: Printing the Film
Load the PET film into your DTF printer. Most dedicated DTF printers use pigment-based inks. The printer lays down a layer of white ink first, followed by the colored inks. This order is crucial for opacity on dark garments. After printing, the film will have a wet, tacky surface.
Step 3: Applying Adhesive Powder
While the ink is still wet, sprinkle the hot-melt adhesive powder evenly over the printed area. Gently shake off any excess powder. The powder should stick only to the wet ink. Then, place the film in a curing oven or under a heat press to melt the powder. This step, known as curing, typically takes 2-3 minutes at around 320°F (160°C). Proper curing is essential for wash durability.
Step 4: Heat Pressing
Once the film is cured, it's ready to be transferred. Set your heat press to the recommended temperature (usually 300-320°F or 150-160°C) and pressure (medium to firm). Place the film on the garment with the adhesive side down. Press for 10-15 seconds. After pressing, allow the garment to cool completely before peeling the film. For a softer feel, you can peel while warm, but cold peel generally provides better durability.
Common Challenges and How to Overcome Them
Like any printing method, DTF printing has its quirks. Here are some common issues and their solutions.
Ink Cracking or Fading
If your prints crack after washing, it's often due to under-curing or insufficient pressure during heat pressing. Ensure the powder is fully melted and the press applies even pressure. Also, check that the garment is properly supported; seams or zippers can create uneven pressure.
Adhesive Powder Not Sticking
This usually happens when the ink is too dry before powder application. Work quickly after printing, or adjust your printer settings to increase ink density. Humidity can also affect adhesion; aim for a relative humidity of 40-60% in your workspace.
Colors Looking Dull
Dull colors can result from insufficient white ink or incorrect color profiles. Calibrate your printer and use ICC profiles designed for DTF printing. Also, ensure the film is clean and free of dust before printing.
DTF vs. Other Printing Methods
How does DTF stack up against DTG, screen printing, and HTV? Let's compare.
- DTG: Best for 100% cotton, no minimums, but requires pre-treatment and can be less vibrant on dark shirts. DTF works on more fabrics and has better opacity.
- Screen Printing: Cost-effective for large orders, but setup costs are high and not practical for small batches or complex designs. DTF excels at detailed, multi-color designs with no setup fees.
- HTV: Great for simple one-color designs, but weeding is time-consuming and layering multiple colors can be tricky. DTF handles full-color designs in one press.
Getting Started with DTF Printing
Ready to dive into DTF printing? Here's what you'll need.
Essential Equipment
- DTF Printer: Options range from converted Epson printers to dedicated industrial machines. For beginners, a converted printer with DTF ink and a RIP software is a good start.
- PET Film: Available in rolls or sheets. Double-sided matte film is common.
- Adhesive Powder: TPU-based powder is standard. Choose fine powder for detailed designs.
- Curing Oven or Heat Press: A heat press can double for curing and transferring, but a dedicated oven speeds up production.
- Heat Press: A reliable heat press with accurate temperature and pressure control is crucial.
Tips for Success
- Start with a small printer and quality supplies to minimize initial investment.
- Practice on scrap fabric to dial in your press settings.
- Keep your workspace clean to avoid dust particles on the film.
- Store unused film and powder in a cool, dry place.
Frequently Asked Questions
How long do DTF prints last?
When properly applied and cared for, DTF prints can last as long as the garment itself. Wash inside out in cold water and avoid bleach or fabric softeners to maximize longevity.
Can I use DTF on 100% polyester?
Yes, DTF works well on polyester, including performance fabrics. However, you may need to adjust pressing temperature and time to avoid scorching.
Do I need special software for DTF printing?
Most DTF printers come with RIP software that handles color management and white ink layering. Some printers allow you to print directly from design software with the right settings.
Is DTF printing cost-effective for small businesses?
Absolutely. With no minimum order and low setup costs, DTF is ideal for small batches and personalized items. The cost per print is competitive, especially for multi-color designs.
What fabrics are not suitable for DTF?
DTF adheres to most fabrics, but highly textured or treated surfaces (like waterproof coatings) may require testing. Always do a test press on a sample first.