
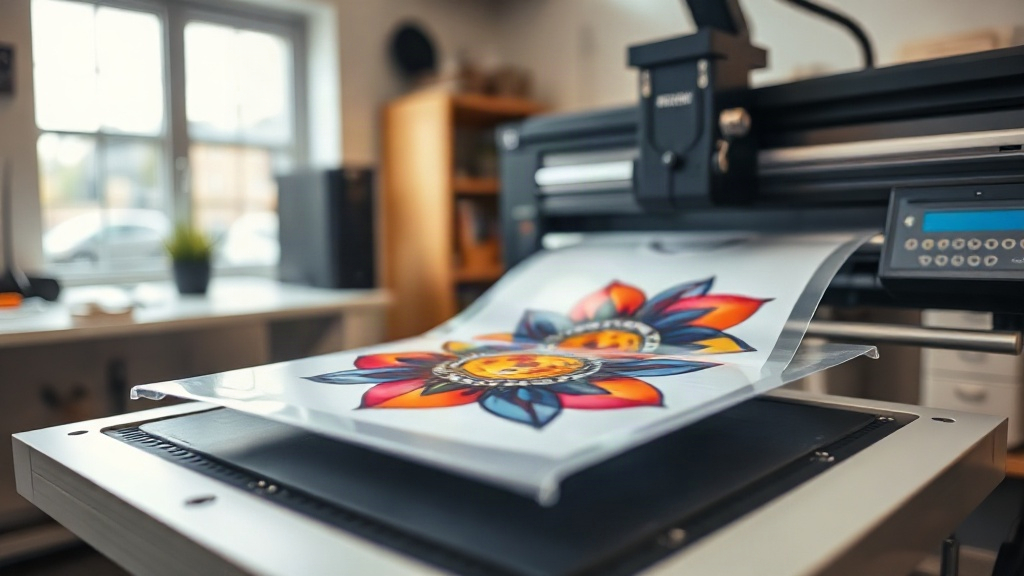
Imagine being able to print a full-color design onto a t-shirt in minutes, without the mess of screens or the cost of expensive equipment. That's the promise of DTF printing, a technology that's rapidly becoming a favorite among crafters, small business owners, and anyone who wants to create custom apparel. Unlike traditional methods, DTF (Direct to Film) printing lets you transfer intricate designs onto a variety of fabrics with remarkable durability and color vibrancy. In this guide, I'll walk you through everything you need to know to get started with DTF printing, from the basic process to practical tips I've learned from my own experience.
What Exactly Is DTF Printing?
DTF printing is a digital printing method where your design is printed onto a special film, coated with a powder adhesive, and then heat-pressed onto fabric. The key difference from DTG (Direct to Garment) is that you're not printing directly onto the shirt; instead, you're creating a transfer that can be applied later. This opens up possibilities for printing on dark colors, polyester, and even odd-shaped items like bags and hats. The process involves a few key steps: designing, printing, powdering, curing, and pressing. Each step is straightforward, but attention to detail makes all the difference in the final quality.
One of the biggest advantages of DTF is its versatility. You can print on cotton, polyester, blends, and even treated nylon. The transfers stretch with the fabric, so they won't crack or peel easily if applied correctly. Plus, the color vibrancy is outstanding because the white ink layer acts as a base, making colors pop even on dark garments. I've personally used DTF transfers on everything from team jerseys to tote bags, and the results have always impressed my customers.
The DTF Printing Process Step by Step
Getting started with DTF printing requires a few pieces of equipment: a DTF printer (or access to one), DTF film, hot melt adhesive powder, a heat press, and a curing oven or heat gun. If you're just starting, you might outsource the printing to a service, but many people invest in a printer as they scale. Let's break down the process.
1. Design Preparation
Your design should be in a high-resolution format, preferably PNG with a transparent background. Remember that DTF transfers are printed in reverse, so you'll need to mirror your image horizontally. Also, consider the size: typical DTF transfers can be up to 13 inches wide by 19 inches long for desktop printers, but larger formats are available. I always recommend adding a small white border around the design to ensure clean edges during transfer.
2. Printing
The printer uses special DTF inks (CMYK plus white) to print onto a PET film. The white ink is crucial because it provides opacity, allowing the design to show up on dark fabrics. The printer lays down the white ink first, followed by the colors, or vice versa depending on the printer's configuration. You'll want to ensure the ink is evenly distributed and not too heavy, as excess ink can cause smudging.
3. Powdering
While the ink is still wet, you sprinkle hot melt adhesive powder over the printed film. The powder sticks to the wet ink. Then you shake off the excess. This powder is what will bond the transfer to the fabric when heat is applied. It's important to use a fine, consistent powder and to apply it evenly. I use a dedicated powder shaker to avoid clumps.
4. Curing
The film with powder goes into a curing oven (or under a heat gun) at around 320°F (160°C) for 2-3 minutes. This melts the powder into a smooth, clear adhesive layer. Proper curing is essential; undercured transfers won't adhere well, and overcured ones can become brittle. I always test a small piece to ensure the powder has melted completely and looks glossy.
5. Heat Pressing
Now the transfer is ready. You place it on your garment with the printed side up (the adhesive side down) and press at 325°F (163°C) for 15-20 seconds with medium pressure. After pressing, let it cool completely before peeling off the film. You can peel it hot or cold depending on the film type, but I prefer cold peel for a matte finish. The result is a vibrant, durable design that feels soft to the touch.
Why Choose DTF Over Other Printing Methods?
There are several reasons why DTF printing has gained such a following. First, it's cost-effective for short runs. Unlike screen printing, which requires separate screens for each color, DTF doesn't have setup fees per color. So if you have a design with many colors, DTF is far cheaper. Second, it works on a wide range of fabrics, including polyester and blends, where DTG might struggle. Third, the transfers can be stored and used later, making it ideal for on-demand production.
Another advantage is the ability to print on hard-to-print areas like sleeves, pockets, and even shoes. Because the transfer is flexible, it conforms to curves and seams. I've used DTF to add logos to baseball caps and even to decorate canvas shoes, and the results were fantastic. The only limitation is your imagination.
Common Challenges and How to Overcome Them
Like any craft, DTF printing has its quirks. One common issue is uneven powder application, which can lead to poor adhesion. To avoid this, use a powder shaker and apply in a well-ventilated area. Another challenge is color accuracy; the colors on screen may not match the final print exactly. I recommend printing a test swatch and adjusting your design accordingly. Also, humidity can affect the powder; store it in an airtight container.
If you're experiencing transfers peeling after washing, it's likely due to insufficient pressure or time during heat pressing. Make sure your heat press is calibrated and apply consistent pressure. I learned this the hard way when I first started; now I always do a peel test after pressing to ensure the transfer is secure.
Getting Started: Tips for Beginners
If you're eager to try DTF printing, here are some tips to set you up for success:
- Start with a reliable printer. Brands like Epson converted for DTF or dedicated DTF printers from companies like STS or Mutoh are popular. If you're on a budget, consider outsourcing prints until you're ready to invest.
- Use quality supplies. Not all DTF films and powders are created equal. Cheaper options may cause clogs or poor adhesion. I recommend testing a few brands to see what works best with your printer.
- Master the heat press. A good heat press with even pressure is crucial. Digital presses with temperature and time controls are worth the investment.
- Practice, practice, practice. Print small test designs on scrap fabric to dial in your settings. Keep a log of what works and what doesn't.
- Join communities. Online forums and Facebook groups dedicated to DTF printing are invaluable for troubleshooting and inspiration.
One of my favorite aspects of DTF is how it enables small businesses to offer custom products without a huge upfront cost. I've seen hobbyists turn their passion into profitable side hustles, all because they embraced this technology. Whether you're making team uniforms, personalized gifts, or promotional items, DTF gives you the freedom to create professional-looking apparel right from your home studio.
Frequently Asked Questions About DTF Printing
How long do DTF transfers last?
When applied correctly, DTF transfers can last as long as the garment itself. They withstand repeated washing without cracking or fading, especially if you wash inside out in cold water and avoid harsh detergents. I have shirts that are over two years old with DTF prints that still look great.
Can I use DTF on 100% polyester?
Yes, DTF works beautifully on polyester, unlike some other methods that require special inks. The low pressing temperature (around 325°F) won't scorch the fabric, and the transfer adheres well. Just be mindful of dye migration with some polyesters; using a lower temperature and a barrier sheet can help.
What is the difference between DTF and DTG?
DTF involves printing onto a film and then transferring, while DTG prints directly onto the garment. DTG is great for 100% cotton and intricate details, but DTF excels on dark colors and synthetic fabrics. DTF also allows you to prepare transfers in advance, which is a big plus for production efficiency.
Do I need a special printer for DTF?
You can convert an Epson printer (like the F2100 or P800) to use DTF inks, or buy a dedicated DTF printer. The conversion involves installing a DTF ink system and possibly a powder shaker. If you're not ready to invest, many companies offer DTF printing services where you just send your design and receive the transfers.
How do I store DTF transfers?
Store unused transfers in a cool, dry place, away from direct sunlight. Keep them flat to avoid creasing. Properly stored, they can last for several months. I keep mine in a plastic sleeve inside a drawer, and they're ready to press whenever I need them.
Embracing DTF printing has transformed the way I approach custom apparel. It's a flexible, cost-effective solution that delivers professional results. Whether you're a seasoned crafter or just starting, I hope this guide helps you dive in with confidence. If you have questions, feel free to reach out. Happy printing!